
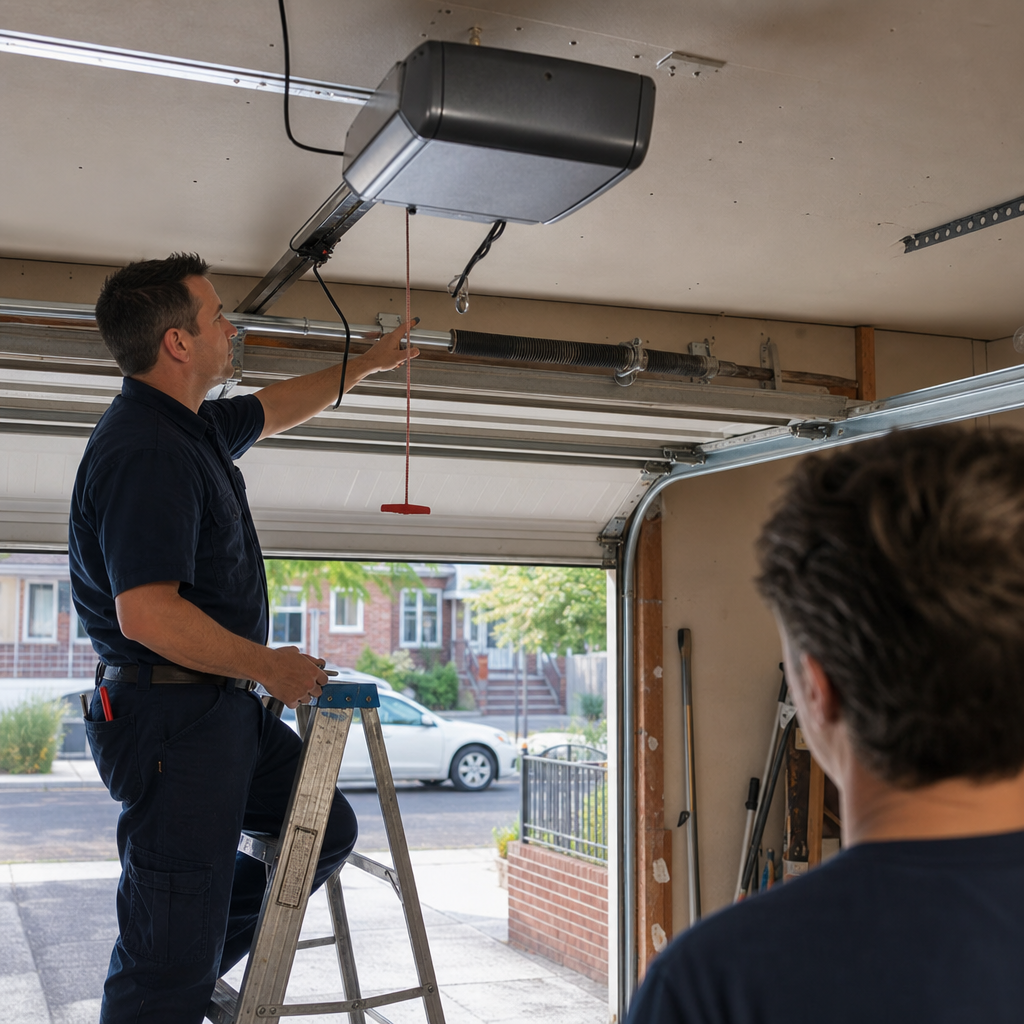
How to Program a Garage Door Opener in New York: A Practical Guide for Legacy Systems, Missing Manuals, and Real-World Problems
Programming a garage door opener usually means pressing the “Learn” button on the motor unit until its LED glows, then pressing the button on your new remote or keypad within 30 seconds until the lights flash or the door clicks. If your opener was made before 1996, uses DIP switches instead of a Learn button, or sits in a cramped overhead space with a faded label, the process changes entirely — and that’s the situation most New York homeowners Joseph Taylor encounters actually face. If you’re stuck, call (888) 402-9497 and we’ll walk you through it or come sort it out same-day.
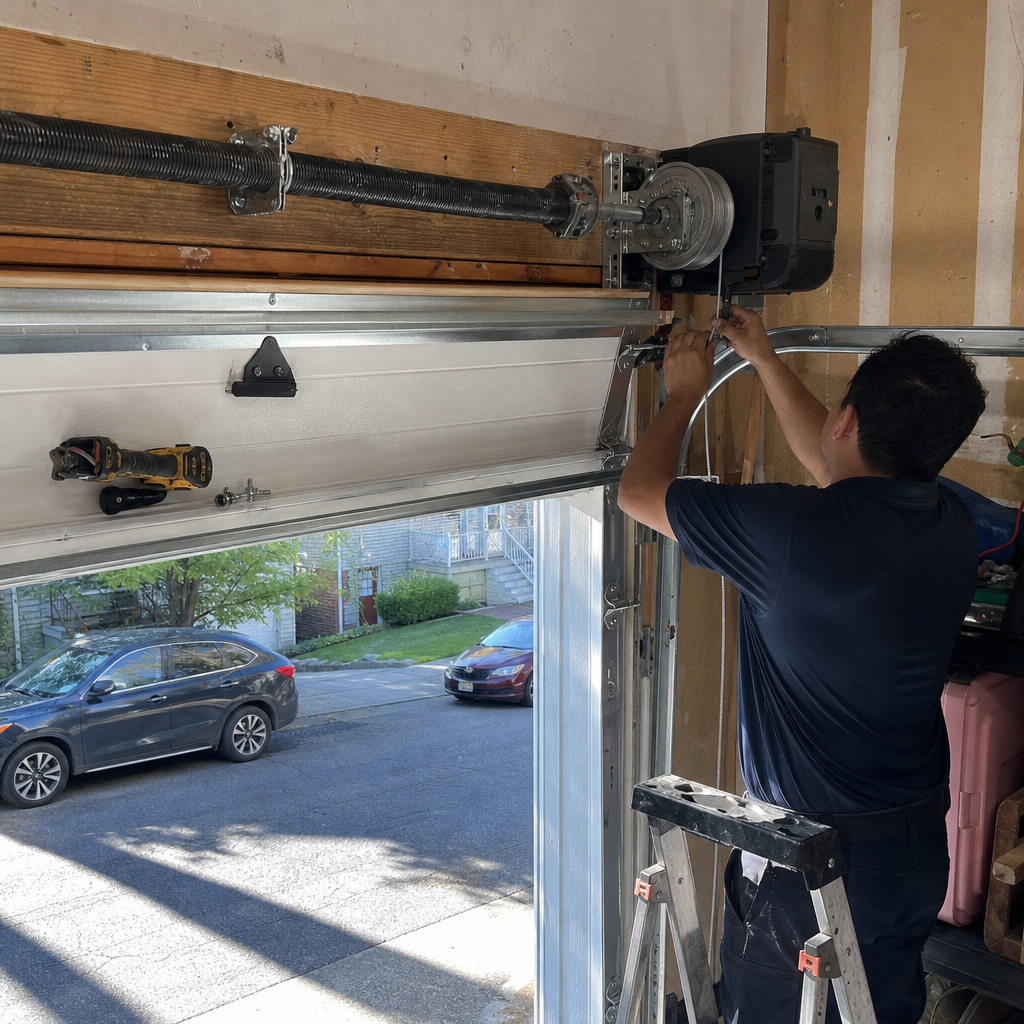
New York’s housing stock tells its own story. Pre-war buildings in Washington Heights, 1960s brick co-ops in Forest Hills, and converted industrial lofts in Gowanus all have garages — but the openers in them span four decades of technology, often installed by previous owners who left nothing behind. The salt-heavy air from Long Island Sound and the freeze-thaw cycles of a Queens winter don’t help: motor unit labels corrode, Learn buttons seize, and logic boards fail in ways that make programming impossible until the underlying problem gets fixed. Joseph Taylor grew up in Woodside, Queens, about a mile from the elevated 7 train, in a neighborhood where everybody knew the guy who fixed things and nobody wasted money on problems they could solve themselves. For 17 years, he’s been that guy for garage doors across all five boroughs.
What You’re Actually Working With: Identifying Your Opener When the Label’s Gone
Every generic programming guide starts with “locate your model number.” In practice, that sticker on the side of the motor unit has been baked, corroded, or painted over years ago. Here’s how Joseph reads the hardware itself to identify what system he’s dealing with:
- Color and shape of the motor cover: Chamberlain and Craftsman units from the 1990s and early 2000s — extremely common in pre-2005 NYC installs — have a distinctive bulbous white or almond plastic housing. Newer Chamberlain/LiftMaster units are more rectangular and often have a yellow, purple, or red Learn button.
- Antenna wire: A single dangling wire with a small copper coil at the end usually indicates a 390 MHz system (pre-1997). A thicker, insulated wire with a plastic ferrite core suggests 315 MHz (1997–2005). Current 310/315/390 MHz Security+ 2.0 systems have a more integrated antenna design.
- Wall button terminals: Two screw terminals suggest an older two-wire system, often DIP-switch or early rolling-code. Three or more terminals (including a red-and-white striped pair) indicate a newer multi-function control board.
- The rail assembly: A one-piece solid rail points to Wayne Dalton or some Genie units from the 2000s. A three-piece segmented rail is standard Chamberlain/Craftsman/LiftMaster. Chain-drive systems are noisier and more common in budget installations; belt-drive came into wider use after 2005.
Joseph’s seen openers in Inwood basements where the only identifiable mark was a faded “Craftsman” embossed into the plastic wall button — enough to narrow it to a 139-series unit and pull the right frequency from memory. “Tell me what it’s doing — or not doing — and I’ll tell you what it needs.”
DIP-Switch Openers vs. Rolling-Code Systems: Two Completely Different Processes
This is where most online guides fail New York homeowners entirely. If your building was constructed before 1996 or the opener was replaced on a budget, you may have a fixed-code DIP-switch system — and the programming process has nothing to do with Learn buttons.
DIP-Switch Openers (Pre-1996, Still Common in Older NYC Buildings)
These units have a row of 8–12 small toggle switches inside both the motor unit and the remote. Programming means matching the switch positions exactly — up, down, or middle — between the two devices. The motor unit’s DIP switch block is usually behind a removable panel on the back or side; on some Genie models, it’s under a snap-off cover near the light lens.
The catch: if you’re adding a new remote and don’t have an existing one to copy, you’re guessing at the code. Joseph carries a DIP-switch reader for service calls — a small device that reads the pattern from a working remote or the motor unit directly. Without it, homeowners often spend an hour trying combinations before calling. If you’re in a pre-war co-op in Jackson Heights or a 1970s high-rise in Riverdale with an original opener, this is likely your situation.
Rolling-Code Openers (1997–Present, Including Current LiftMaster, Chamberlain, Genie)
These use a Learn button to pair devices. The button color indicates the system’s generation and compatible accessories:
| Learn Button Color | Frequency/Protocol | Compatible Remote Types | Common in NYC Era |
|---|---|---|---|
| Red or Orange | 390 MHz Security+ | 971LM, 973LM, 81LM | 1997–2005 installs |
| Purple | 315 MHz Security+ | 371LM, 373LM, 81LM | 2005–2011 |
| Yellow | 310/315/390 MHz Security+ 2.0 | 891LM, 893LM, MyQ-enabled | 2011–present |
| Green | 390 MHz Billion Code | 81LM, 61LM | Rare, mostly commercial |
The programming sequence: press and release the Learn button (don’t hold — holding erases all remotes on most units), then press your remote button within 30 seconds. The motor unit lights will flash or you’ll hear two clicks. Test immediately. If the door doesn’t respond, the remote may be on the wrong frequency or the logic board may not be entering Learn mode.
The Lost Learn Button: Finding It in Cramped New York Overhead Spaces
In Manhattan brownstone basements, Queens attached garages with 7-foot ceilings, and Brooklyn carriage houses converted to parking, the motor unit is often wedged between ductwork, gas lines, and century-old joists. The Learn button — typically a small square or circular button, often colored, sometimes behind a light lens cover — hides in predictable places by brand:
- LiftMaster/Chamberlain/Craftsman: On the back or side of the motor housing, near where the white antenna wire exits. On chain-drive units, it’s often above the chain rail connection. In tight installs, Joseph uses a small inspection mirror and a headlamp — the button is frequently visible only from directly below.
- Genie: Behind a snap-off cover on the front of the powerhead, near the light bulb. On Intellicode models, it’s a small round button labeled “Learn” or “Program.” Older Genie units may have a “Set” button instead.
- Wayne Dalton: On the side of the motor unit, often recessed and requiring a pen or small tool to press. Some Quantum models have the button under the light lens.
- Raynor: Similar to LiftMaster placement (Raynor uses Chamberlain-manufactured openers with Raynor branding), but the button may be uncolored on older units — just a small raised circle.
If the button is physically inaccessible due to installation constraints, that’s not a DIY problem. Joseph has handled Garage Door Opener Installation in New York, NY for customers in Park Slope and Astoria, relocating motor units or adding compatible external receivers where the original installer clearly never anticipated maintenance.
Multi-Unit Buildings, Co-ops, and Integrated Gate Systems: The NYC Edge Case
This is where standard guides become actively misleading. In New York’s multi-unit buildings — whether a 50-unit co-op in Kips Bay with a shared garage or a six-family in Sunset Park with individual bays — the “opener” you see may not be the actual controller.
Three common configurations Joseph encounters:
- Master control board: A building-wide system (often Doorking, Linear, or proprietary) sends the actual open signal. Your individual “opener” is just a relay receiver. Programming a new remote requires access to the master panel — usually in a super’s office or electrical room — not your garage unit. The remote you need is specific to the building system, not a standard Chamberlain or Genie accessory.
- Gate-to-garage integration: In buildings with a street gate and interior garage, the same remote often controls both. The programming happens at the gate operator first, then the garage opener learns the same code. If you reprogram only the garage unit, you’ll lose gate access.
- Radio receiver add-ons: Older buildings have had external receivers grafted onto original openers to support newer remotes or fob systems. The Learn button on the add-on receiver — not the original opener — is what needs programming. These receivers are often mounted on the wall near the opener, not on the motor itself.
If your building has any of these setups, programming a standard retail remote from Home Depot will fail. Joseph carries multi-frequency and multi-protocol remotes for service calls, and he’ll verify building compatibility before recommending anything.
When Programming Fails Repeatedly: What It Actually Means
You’ve found the Learn button, followed the sequence, and nothing happens. Or it works once, then stops. Here’s what Joseph diagnoses in order of probability:
Radio frequency interference: New York’s dense RF environment — cell towers, WiFi networks, building security systems, even LED light bulbs on the same circuit — can drown out the weak signal between remote and opener. Joseph starts by unplugging LED bulbs in the garage during programming; if that fixes it, the bulbs need ferrite chokes or replacement. In Midtown buildings near broadcast transmitters, he’s installed external antenna extensions to get the receiver away from interference sources.
Failing logic board: The receiver circuit on the opener’s main board degrades over time, especially in unheated garages that hit 20°F in January and 95°F in July. Symptoms: Learn button works, programming appears successful, but the remote is “forgotten” within hours or days. Opener repair runs $140–$380; if the unit is over 15 years old, Joseph usually recommends Garage Door Opener replacement at $295–$650 rather than sinking money into obsolete electronics.
Remote/opener frequency mismatch: A 315 MHz remote won’t program to a 390 MHz opener, period. The packaging often obscures this. Joseph’s test: if the remote’s FCC ID (printed on the back or inside the battery compartment) doesn’t match the opener’s frequency, it’s the wrong remote. This is especially common when homeowners buy “universal” remotes that claim compatibility they don’t actually deliver.
Memory corruption from power events: New York’s grid has personality — brownouts during summer demand spikes, voltage sags in older buildings, and the occasional full outage. These can corrupt the opener’s stored codes without fully resetting it. A full memory clear (hold Learn button 6+ seconds until the LED goes out, then reprogram all remotes from scratch) often resolves this.
Programming Keypads and Vehicle Homelink: The Secondary Steps
Once the remote works, most homeowners want the keypad and car buttons programmed too.
Wireless keypads: These program to the opener, not the remote. Enter your desired PIN, press and hold the Learn button on the opener until it flashes (or press the Learn button first, then enter the PIN and press Enter on the keypad — sequence varies by brand). The critical detail: keypads have their own frequency. A LiftMaster 877LM keypad won’t work on a purple-button Security+ opener, and a Chamberlain Clicker universal keypad may need manual frequency selection.
Vehicle Homelink or Car2U: These systems in your car’s visor or mirror learn from the working remote, not directly from the opener. The process: hold the car button and remote button simultaneously until the car’s indicator flashes rapidly, then press the car button alone to test. In rolling-code systems, a second “training” step with the Learn button is required. Joseph programs these on nearly every Best Garage Door Opener in New York, NY call — it’s a two-minute step that saves customers the frustration of conflicting instructions between car and opener manuals.
When to Call a Professional: Safety and Practical Limits
Programming itself is low-risk, but the environment where you’re working often isn’t. Motor units in tight overhead spaces require ladder work near electrical components. If your opener is chain-drive and the chain is slack or the rail is misaligned, the vibration during testing can shift components. Joseph won’t tell you to climb a wobbly stepladder in a dark garage — that’s how injuries happen.
More fundamentally, if you’ve tried the correct programming sequence three times with no result, you’re not doing it wrong. Something else is broken: the logic board, the remote, the receiver, or the wiring. Continuing to try variations wastes time and can, in rare cases, lock the opener into a diagnostic mode that requires a factory reset.
Joseph Taylor shows up personally for these Emergency Garage Door Opener in New York, NY calls — not a subcontractor with a week of training. With 17 years of garage door problems solved and certified working knowledge across LiftMaster, Chamberlain, Genie, Clopay, Amarr, Wayne Dalton, Craftsman, and Raynor, he can identify your system, source the right remote or receiver, and program everything in one visit. 411 neighbors have trusted us, and the reviews say the same thing: he diagnoses the actual problem instead of selling parts people don’t need.
FAQs
Standard remote or keypad programming during a service call is typically included in the service fee; if you need a new remote supplied and programmed, expect $140–$380 for opener repair service depending on whether the issue is just programming or underlying receiver/logic board failure. Full opener replacement with new accessories programmed runs $295–$650. Call (888) 402-9497 for an exact quote — estimates are free.
Yes, if the opener has a working Learn button and you have a compatible new remote — you program directly to the opener, not from an existing remote. For DIP-switch systems, you need to match the switch pattern, which requires either a working remote to copy or physical access to the switch block in the motor unit. If the previous owner left nothing and the label’s gone, a technician can identify the system and supply the correct remote.
This almost always indicates a failing logic board receiver or memory corruption from electrical issues — the programming “takes” but doesn’t persist. Less commonly, a neighbor’s new opener on the same frequency is overwriting your code (rare with rolling-code systems, possible with very old fixed-code units). If the problem repeats after reprogramming, the opener needs professional diagnosis.
For openers under 10 years old with a single failed component, repair at $140–$380 usually makes sense. For units over 15 years old — common in pre-2005 NYC housing stock — replacement at $295–$650 is typically more economical, as parts availability dwindles and additional failures follow the first. Joseph evaluates the full condition: rail wear, motor amp draw, safety reverse function, and gear assembly health before recommending either path. Call (888) 402-9497 for a no-pressure assessment.
If you’d rather have it looked at, Matrix Garage Door Repair New York offers a no-pressure assessment in New York — call (888) 402-9497.
Written by Joseph Taylor, Owner & Lead Technician at Matrix Garage Door Repair New York, serving New York, NY.